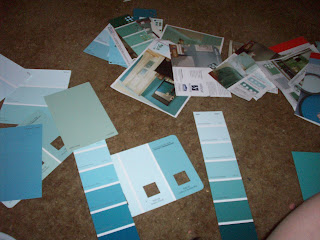
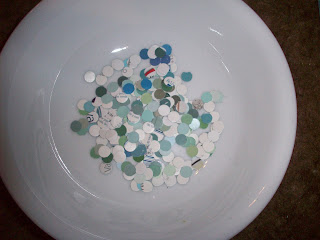
I started turning this:
Into this:
Once I had a TON of paint chips (and in injured hand), I started on the next step.
I printed out the letter I wanted really big (B for my new last name!)
I cut out the letter and taped in down on two layers of cardboard (recycled from an ice cream sandwich box)
I then started cutting out the letter on the cardboard
As I started cutting it out, I realized that since I had only taped the edges of the box, I had to continue re-taping as went around so that the three pieces didn't separate.
Finally the edges were all cut out and I had to cut out the middle sections.
I grabbed my pocket knife and cut small holes in the center parts.
I then cut larger pieces out so that I could get my scissors in to cut in more detail.
All Cut out!
I only created a small mess...
I found an old can box to use as my crafting tray for the last part of the project (you definitely need this tray!)
Instead of Modge Podge, I used Tacky Glue (my mom's old standby)
I glued on a blue color that coordinated with my paint chip on the front of the B (for spaces that didn't get fully filled in)
After cutting out the blue to the right shape, I got started gluing.
The original plan was to glue the pieces on one at a time. I lost patience with this after one piece.
The one piece I put on by hand!
The new plan was to spread glue across part of the letter, then sprinkle the pieces on the letter to cover it.
(My little sister thought it was hilarious to point out that I had missed a spot)
Then, once it was dry, I shook off the excess that wasn't glued on.
After looking at the letter, I wiped off anything that wasn't on tight, wasn't laying flat, or just looked bad. This is what I had left.
So empty!
I added in pieces wherever I thought it needed them, and this is what I ended up with:
SO PRETTY!!!
I cannot wait to frame this & hang it up in our future home!!!


No comments:
Post a Comment